Self-Hosting Luanti: Building a Reliable Mineclonia Server with Docker
Though Minecraft is vastly more popular, we mainly play Luanti in my house. Minecraft heavily monetizes all aspects of what feels like a limited game. On the Xbox, I often wait up to a half hour before the game loads. I don't feel like I'm getting the value I pay for. So, buying the game for every user when a free, better alternative exists seems pointless.
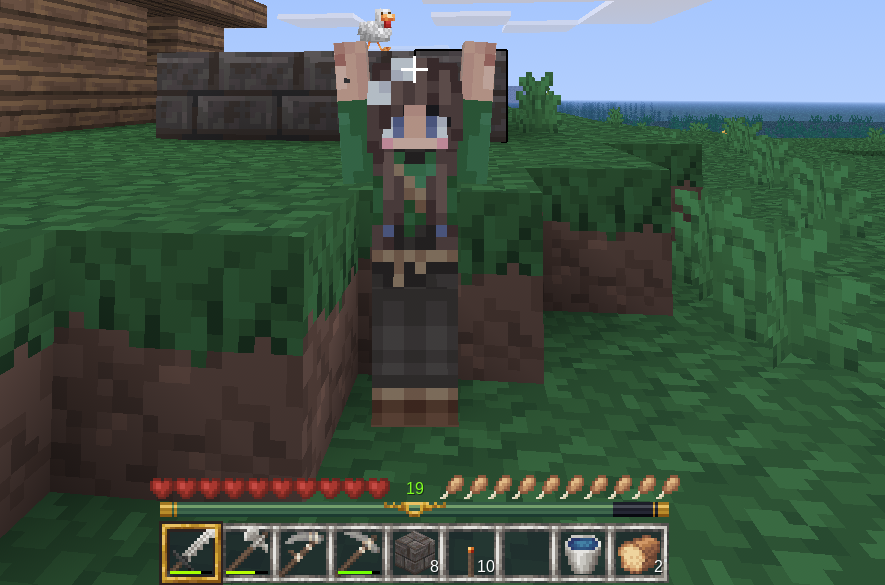
Luanti immediately looks like a Minecraft clone, which it kind of is. Until recently, Luanti was called Minetest. Like Minecraft, Luanti is a voxel engine. The difference is Luanti is open source and even more mod-able than Minecraft. People have written a number of different games for Luanti—Loria is my favorite.
Hosting Luanti over your local network is straight-forward: you select to host the game, give other players your local IP, and they connect to your computer. Sometimes my son might not be home, or I need to travel, or I might want to invite my friends to the game. For that, I host the game on my Hostinger VPS.
Below is a guide to how I set this up. This guide only covers setting up Mineclonia. It is the most Minecraft-like of the Luanti games and the only game (besides the Minetest developer game) that I got to run reliably.
The Blueprint: Command-Line Control
Like almost everything on my VPS (as well as my home servers), I host everything with Docker. Docker is fast, easy, and most hosting seems to use it these days. This guide will setting up the Docker compose.
Luanti has their own official guide to setting up the game in Docker but this only covers the Minetest developer game. To host Mineclonia, we will have to look around to some other options.
Step 1: Acquiring the Game Data
First hurdle: Getting the actual Mineclonia game files onto a headless Linux server. You could download them locally and use SCP/SFTP to push them to the VPS, but it is much faster to pull them directly using Luanti's backend Content Database (ContentDB) API.
I bypass the local browser entirely, hitting the API directly with wget to pull the release archive, unzip it into my host's mounted game directory, and clean up the footprint:
mkdir -p /docker/pure-luanti/data/games
cd /docker/pure-luanti/data/games
wget https://content.minetest.net/packages/Wuzzy/mineclone2/download/ -O mineclonia.zip
unzip -q mineclonia.zip
rm mineclonia.zip
Step 2: The Docker Compose Stack
With the game files safely unzipped, it's time to build the container.
A critical lesson learned the hard way: if you do not explicitly define the world folder in your startup command, the Luanti engine will default to a generic /world directory. If you ever need to rebuild the container, tweak your configurations, or add a second server instance later, the engine can easily lose track of your save file and generate a blank universe.
To prevent this, I explicitly define the --world and --logfile paths directly in the compose file.
Here is the simple, highly-resilient docker-compose.yml that keeps Mineclonia running:
services:
  luanti-mineclonia:
    image: registry.gitlab.com/minetest/minetest/server:latest
    container_name: pure-luanti-mineclonia
    restart: unless-stopped
    ports:
      - "30000:30000/udp"
    volumes:
      - ./data:/var/lib/minetest/.minetest
      - ./config:/etc/minetest
    command:
      - "--gameid"
      - "mineclonia"
      - "--port"
      - "30000"
      - "--world"
      - "/var/lib/minetest/.minetest/worlds/mineclonia"
      - "--logfile"
      - "/var/lib/minetest/.minetest/mineclonia.log"
Conclusion
Running this stack on a single Hostinger VPS gives us total autonomy. My son and I can log into our shared world from anywhere, on any device, without waiting for heavy local hardware to boot up or paying monthly subscriptions for external Realms.
By keeping the configuration strictly CLI-based, the environment is bulletproof. When we are ready to experiment with other games or custom Lua scripting in the future, I have a clean, reproducible baseline to build from.